Thanks to their natural beauty, colourful displays, and ease of maintenance, daylilies have become a very popular choice amongst gardening enthusiasts in Australia and across the globe. These plants can brighten up any outdoor space in clumps as a single specimen or planted in drifts of staggering heights. They will add an eye-catching touch to your garden without having to invest huge amounts of money and time. After all, if you look after these perennial plants well they will last you a lifetime. Many people who want to enjoy natural beauty in their outdoor areas are interested in adding daylilies to their garden and the planting process to start your daylily garden is relatively a simple one.
Steps that you need to take
Starting your own daylily garden begins, of course, with the planting process. Making sure that you get this just right will help to ensure that you get the most out of these flowers and that you encourage growth and re-blooming so that you get to enjoy them for longer. The steps you need to take when it comes to starting your daylily garden include –
-
Choosing the Daylilies, you want
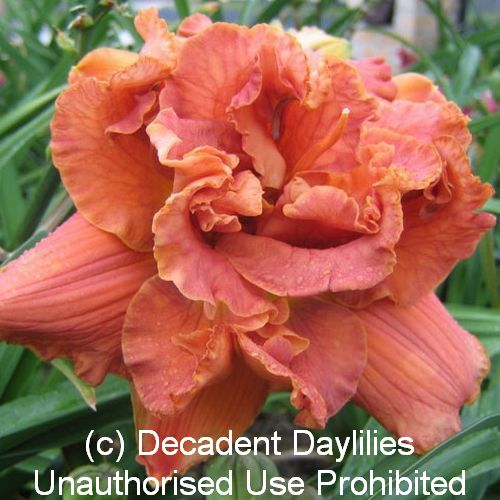
These days, you can get daylilies in a variety of different types, colours and sizes, so you need to choose which ones you want for your garden. Many people tend to mix and match so that they have a variety of different heights and colour shades to make a really stunning daylily display in the garden.
-
Preparing the Soil for your Garden Beds
You need to ensure that your new daylilies will receive the right soil quality that they need for optimum growth. For perfect growing conditions, it’s a good idea to get a reliable soil nutrient test. An accurate detailed soil analysis can be done by an expert this is an important step in starting a brand new garden. This tests your garden soil for health and fertility and identifies the current nutrient levels what your soil is lacking or has too much of. If you know your soils nutrient content this tells you which and how much fertiliser to use. Over fertilisation, if you use too much fertiliser of any of the three main components nitrogen, phosphorus and potassium in short NPK can burn the plant and affects the plants overall performance as well as flowering. Daylily plants tend to prefer and do best in soil that is slightly acidic but they can adapt with relative ease. However, if your soil is heavy clay or sandy you should make sure you use organic matter to the planting hole that you dig, in order to make the soil more suitable for your plants so that your daylilies can develop a sizable healthy root system.
-
Choosing the Right Growing Area
Your daylilies will need to receive around six hours of sunlight in order to encourage proper growth. Therefore, make sure you choose a growing site that is going to get this level of sunlight. It is best to find an area that gets morning sunlight, as afternoon sun can be too harsh for them.
-
Preparation
The preparation for the planting of your daylilies is pretty straight forward, so you should have no problem with this process. You should dig your holes twice as deep and wide as the spread of the roots and cut the foliage back to at least six inches. When you plant the daylily, you should ensure that the crown is around an inch below ground level and you can then fill the hole back in with soil.
-
Watering
After filling in the daylily holes with amended soil, you need to water them well. You should then continue to keep them well watered for a few weeks so that the roots can re-establish themselves in their new garden beds and the plants continue to get the necessary moisture they need for growth. Excess water or rain must not leave the garden bed swampy otherwise this can lead to a lack of oxygen to the roots. The result of waterlogged garden beds for too long is poor growth, a mushy crown or roots and most likely the death of the plant through rotting. The soil must drain efficiently poor drainage is the real reason for wet boggy soil.
It is also worth remembering that you can couple daylilies with a range of companion flowers to make an even more stunning display for your garden. Some popular choices that are in peak bloom season with the daylilies include coneflowers, self sown Johnny Jump ups, Russell lupins, Shasta daisy and Salvias.