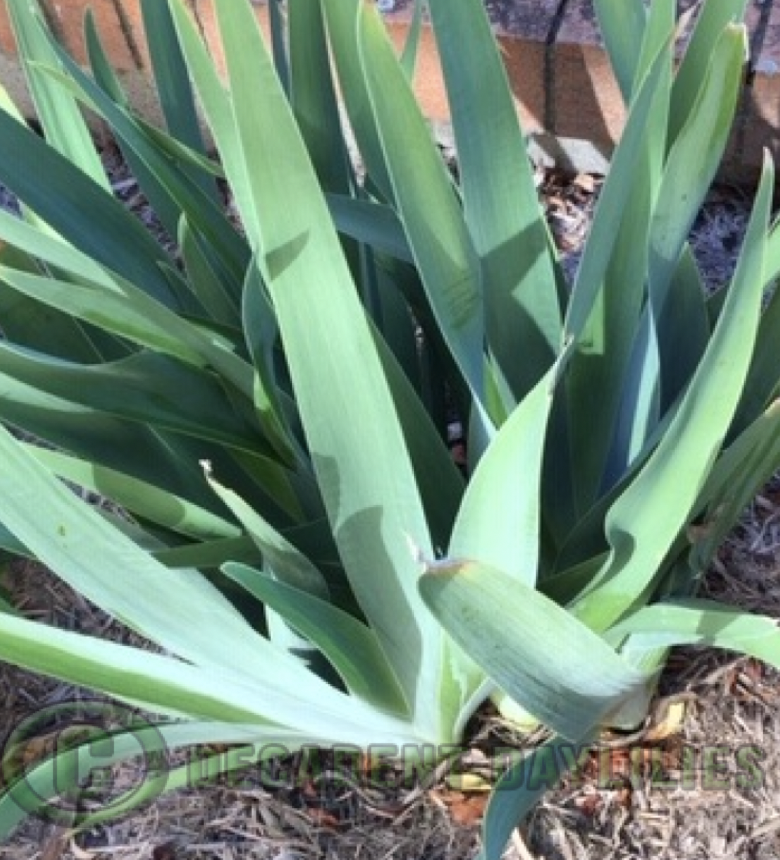
When your Bearded Irises and Daylilies become over crowded clumps, all you need to do is divide and transplant them every two to three years for them to be most productive. Moving Bearded Irises and Daylilies is best done when the ground is warm. Besides, it is a better outcome when it comes to growth of the plants roots settling in and getting them established.
- Daylilies should be divided from Autumn until spring in Australia.
- I divide daylilies when my daylilies have formed large tight clumps.
- Avoid moving daylilies in summer in climates with long hot summers and in cold climates during winter.
When to divide Bearded Iris
- A good time to divide and move bearded iris is six weeks after flowering until six weeks before winter frosts to flower next season.
- This gives the new rhizomes time without interruption to grow to flowering size before being dispatched.
- So, depending on your climate you can choose to move bearded Iris from mid December through to the end of March each year.
- This will give them time to get their roots firmly in the ground before the first winter frost.
- Rhizomes that are sold before this time are old rhizomes that did not flower in October.
- Only the strong vigorous bearded Iris will survive maltreatment and not being divided.
Usually, the white varieties are the strongest. I have got some other colours that are noticeably stronger growing than others. This is why some of my customers say “I have only got white bearded iris left, my iris changed colour or all my bearded Irises have all turned white.” This is one of the reasons “why it is important to divide bearded iris” so that the strong varieties don’t take over your iris garden.
If you don’t divide Bearded Irises this is what happens
- The bearded iris rhizomes will grow thin and weak and flower out.
- You will eventually have fewer flowers and by and by the rhizomes will die or they have already rotted through diseases.
- By not dividing bearded Iris and not keeping your garden hygienic you are inviting dead decaying plant eaters to your garden. Most often bad garden bugs such as slaters, millipedes, slimy slugs and snails will take over your garden to eat the old dead decayed rhizomes and the new shoots.
How to Divide and Prepare Bearded Iris for planting
- I divide Bearded Irises using a garden fork to dig and lift the clump of rhizomes out of the soil.
- I shake off as much loose dirt around the rhizome and roots as possible.
- Then I carefully separate each division between where the old flowering rhizome joins and the new rhizome has this years increases.
- I toss out the old flowering rhizomes with no smaller nodes or without a fan of leaves because the bare old rhizomes only flower once and die.
- The art of division is to break and pull the rhizomes apart with your hands when possible. If it is impossible to split the larger rhizomes you will need to cut them with a knife.
- Disinfect your knife with a cup of domestic bleach mixed to a half a bucket of water after cutting each clump of plants.
- I also clean up the rhizome by removing old dead leaves and breaking off the flower stems to prevent bacterial leaf spot.
- The leaves should be trimmed diagonally. I leave the leaf and tip of the middle leaf and cut off the roots to the length of my hand while holding on to the roots, tall, dwarf and median Iris included.
- Divided bearded iris plants must have at least one rhizome with a fan of 8 leaves and developed roots to bloom.
- To prevent bacterial leaf spot spreading destroy the foliage and make sure you wash your hands to stop the spread to other plants in your garden.
New season rhizomes can be re-planted for that spectacular show next spring season in your garden. See How

